by
User Not Found
| Jun 14, 2016
Each customer is assigned a primary account which gives them access to the Make It! Personal web application. Once you have logged in to this primary account, you are capable of creating multiple locations and users that are associated with the account. Creating these accounts will provide you the ability to manage access to the program and separate cases according to their corresponding locations.
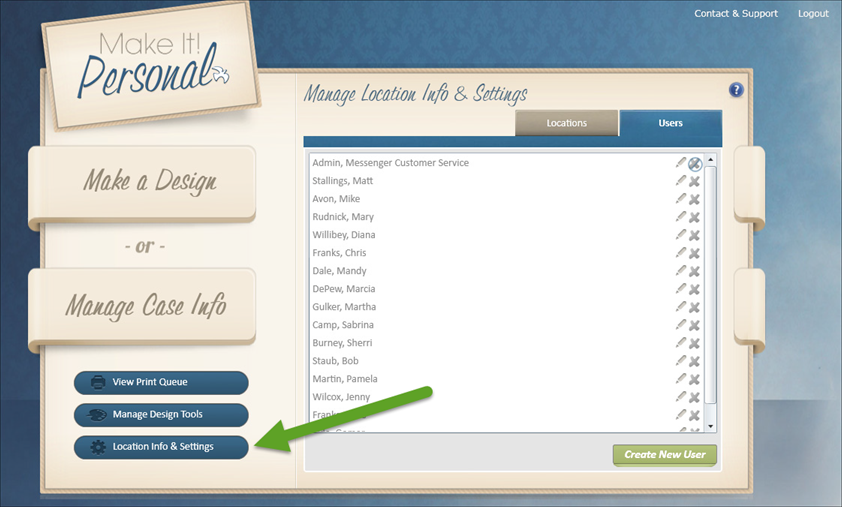
Before you begin designing, it is necessary to set up a default location. Please click the "Location Info & Settings" button in the bottom left‐hand corner of the main screen to get started.
Creating a New Location:
1.) Click the green "Add a Location" button.

Please fill out the corresponding fields. No fields are required, but it is beneficial to complete all fields.
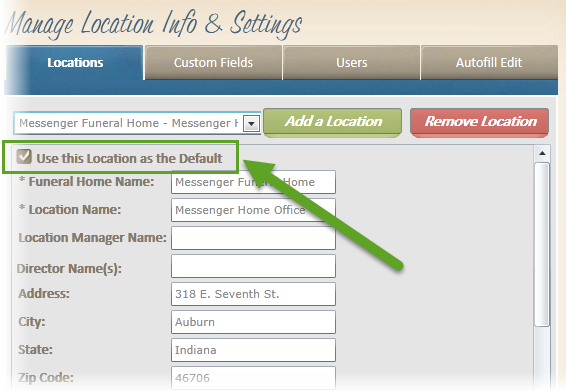
2.) If you would like for this location to be considered your default location, please click the "Use this Location as the Default" checkbox located just under the location drop down menu.
The "Funeral Home Name" and "Location Name" fields are required. Please be sure to fill in these fields.
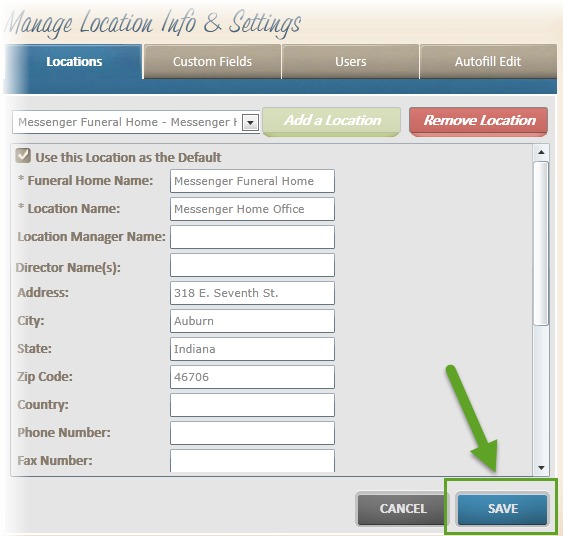
3.) Once finished, click "Save" to add the location.
Creating a New User:
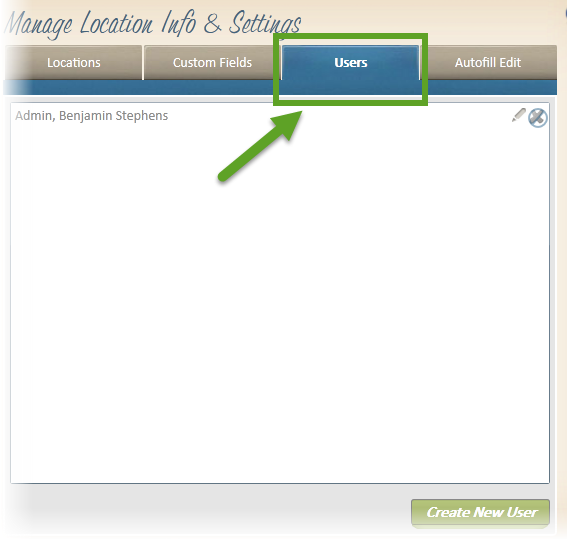
1.) Please select the "Users" tab located to the right of the "Locations" tab.
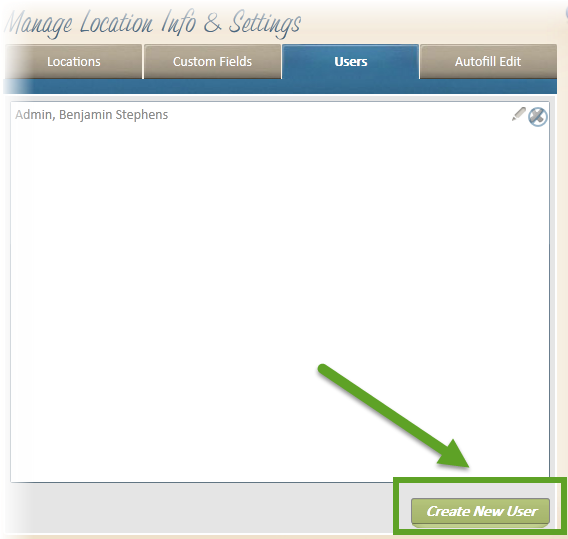
2.) Click the "Create New User" button.
Please fill out the corresponding fields. No fields are required, but it is beneficial to complete all fields.
The password that you choose must be at least seven characters long, and must include at least one non-alphanumeric (symbol) character. (ie: !@#$%^&*...)
3.) Once finished, click "Save" to add the newly created user.
