by
User Not Found
| Jun 14, 2016
Creating a case consolidates all of the information for a service and provides the Make It! Personal web application a collection of data which can used to populate the templates within the web application. Please note that it is not necessary to build a case before creating the stationery; data can be entered at the end of the design process or as you go along. However, entering the data at the beginning of the project is the simplest creation path. The core information for each case can be entered manually or can be automatically input by uploading files exported from select Management Software vendors.
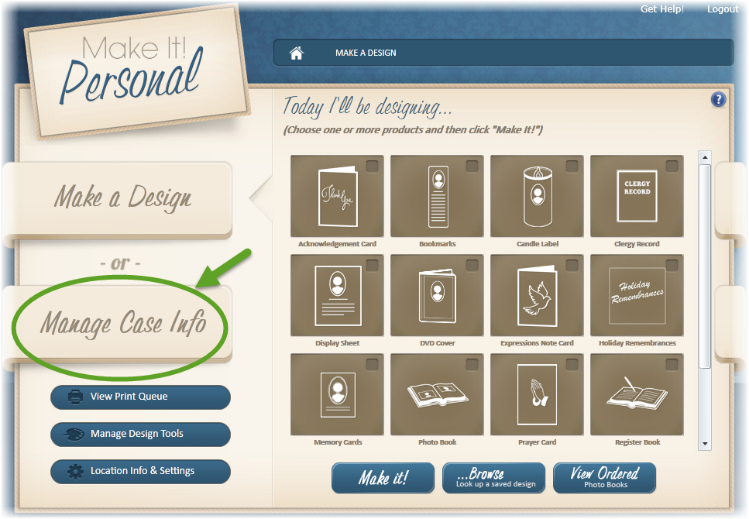
To get started, click “Manage Case Info” on Make It Personal’s home screen.
Entering Case Information Manually
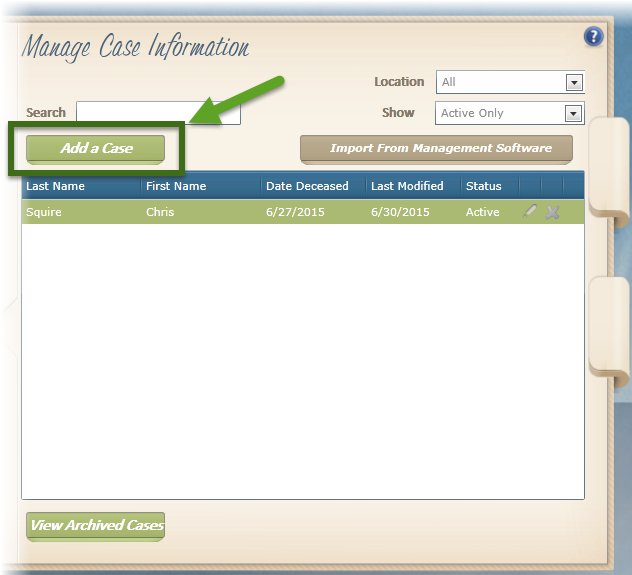
1.) Click the green “Add a Case” button.
2.) Please fill out the corresponding fields. No fields are required, but it is beneficial to complete all fields on the Basic tab. Fields which must be entered in a specific format will display the required format in light grey letters/numbers to demonstrate how the data must be entered.
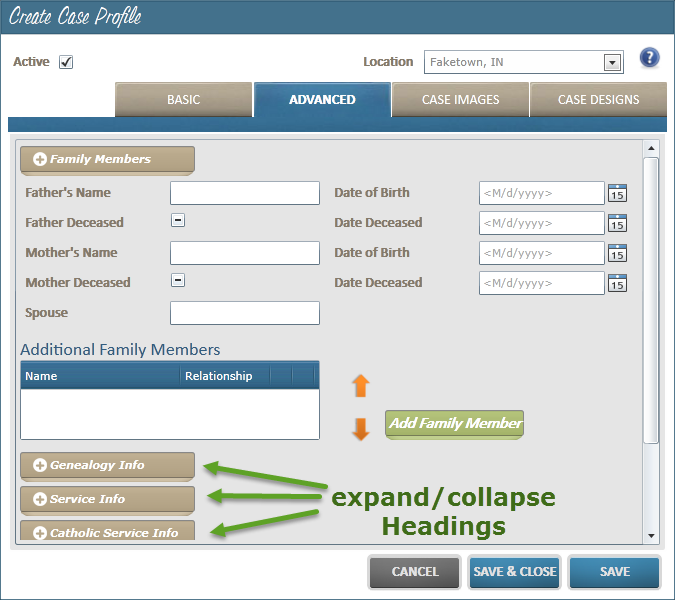
3.) More specific information which might only be used on particular products or in particular situations may be entered under the Advanced tab. Click on the heading buttons to display all of the fields within the category. Clicking on the heading buttons again will collapse those fields once again.
4.) Once you are finished adding data under the Basic and Advanced tabs, click the “Save & Close” button to close the window.
Uploading Case Information from a Management System
**Prior to this, please export the information from your data management software. A help file will be provided for each vendor we work with. **
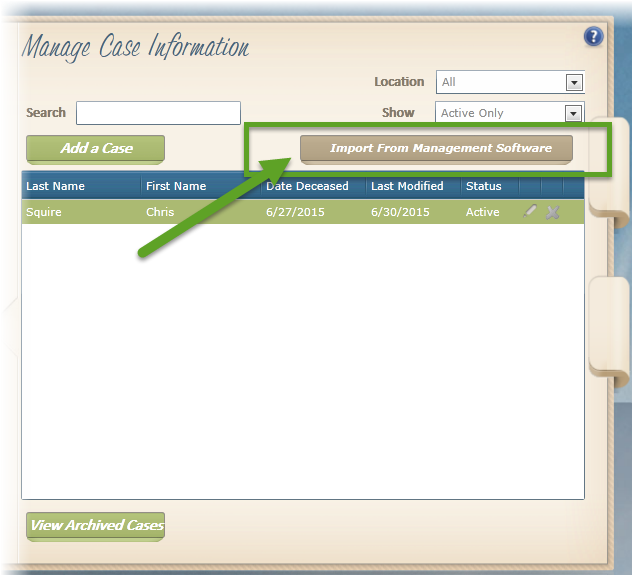
1.) Click the brown “Import From Management Software” button.
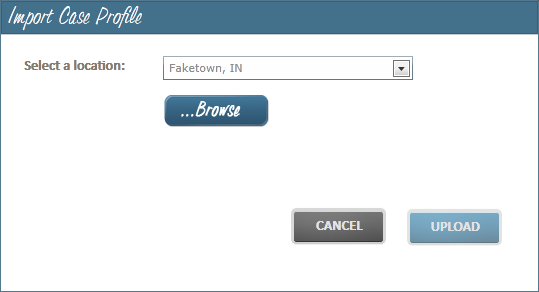
2.) Select the appropriate location from the drop down menu.
3.) Click the “Browse” button and navigate to the .xml file that you exported from your management software.
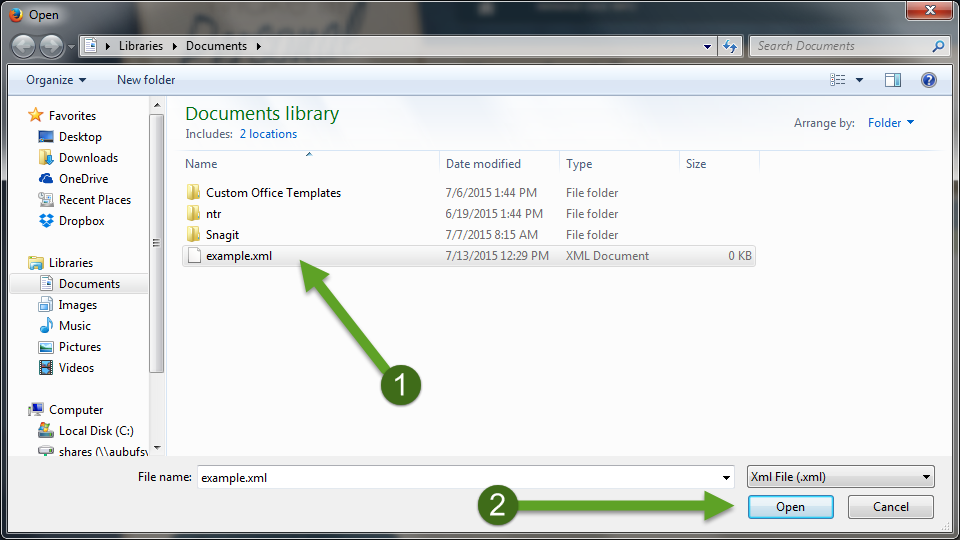
4.) Select the appropriate .xml file and click “Open.”
5.) Click the “Upload” button to transfer all of the data into the Make It! Personal web application.
Uploading Images
1.) Click the “Case Images” tab.
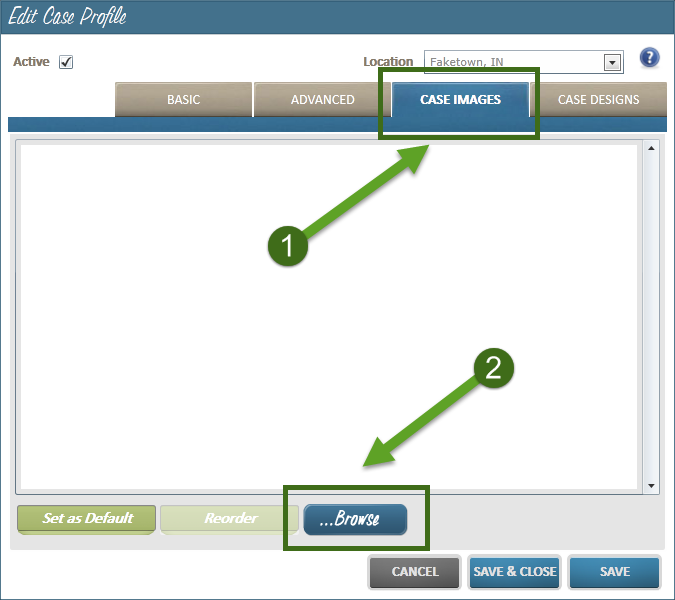
2.) Click the “Browse” button and navigate to the images associated with this case.
3.) If you would like to add multiple photos to the case, hold down the Shift or Ctrl key to select multiple photos within that folder. Once you have selected all of the photos that you would like to add to the case, please click the “Open” button. If you have additional photos located in a separate folder that you would like added to the case, please click the “Browse” button and repeat this process.
**Note: Our recommendation is that you do not load photos much larger than 2MB in size. This is high enough in quality that your photos will look great when printed yet small enough in size that it will quickly load inside the templates.**
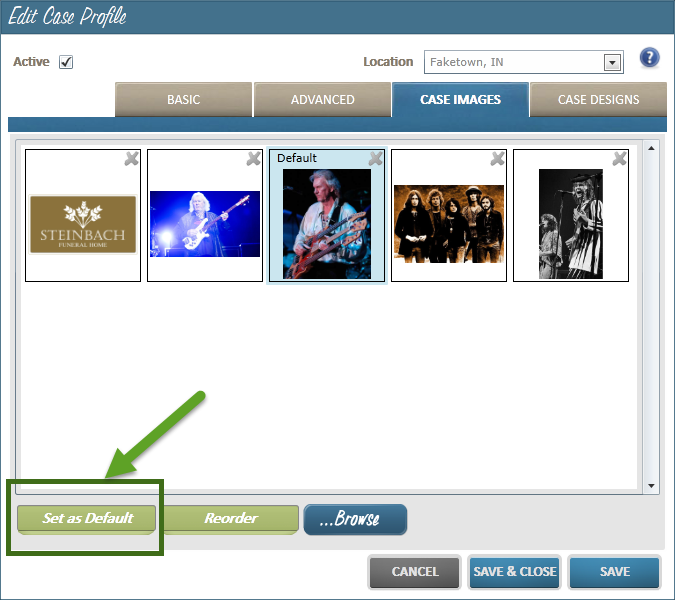
4.) After loading photos to the case, please click on the photo that you would like to appear as the primary photo within the stationery you create. Once you have the photo selected, please click the green “Set as Default” button in the bottom left corner of the popup screen.
Managing Case Designs
Products will appear under the “Case Designs” tab as you go about creating products for that case. Any modifications made to these designs will be saved and reflected in the designs listed in this tab.
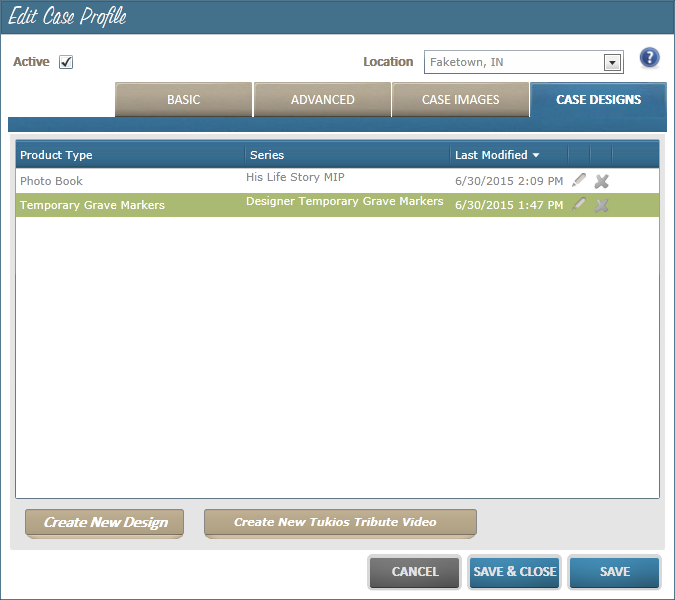
1.) To reopen a design within this list, please click on the “pen” Icon.
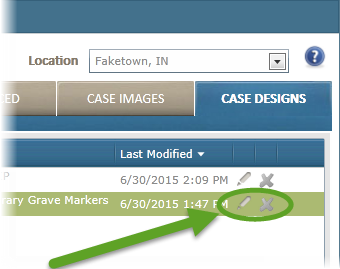
2.) Designs that are no longer needed may be deleted through this screen by clicking on the “X” icon.